In this article, we will explain how to setup a sandbox in order to experiment with Software Factory. The following article explains how to setup a CentOS 7 virtual machine guest based on VirtualBox. Feel free to adapt the following to the hypervisor of your choice. The sandbox guest will be configured to be accessible from your host only.
This article is part of the Zuul hands-on series.
Create the virtual machine
The first step is to create a CentOS 7 virtual machine.
- download the CentOS 7 minimal iso
- create the virtual machine using VirtualBox Manager with the following settings:
- 20G HDD
- 4G RAM
- hostname: sftests.com
During the installation process, do not forget to activate the network and set the hostname in the NETWORK & HOST NAME panel.
After the installation, shut down the virtual machine to finalize the configuration. For easy access to your instance from a terminal and browser, open the virtual machine settings in VirtualBox and create an additional network interface attached to the Host-only adapter . Then start the virtual machine, and type ip address in the virtual machine's terminal to get the network configuration:
[root@managesf.sftests.com ~]# ip a
1: lo: <LOOPBACK,UP,LOWER_UP> mtu 65536 qdisc noqueue state UNKNOWN group default qlen 1000
    ...
2: enp0s3: <BROADCAST,MULTICAST,UP,LOWER_UP> mtu 1500 qdisc pfifo_fast state UP group default qlen 1000
    link/ether 08:00:27:c5:69:3c brd ff:ff:ff:ff:ff:ff
    inet 10.0.2.15/24 brd 10.0.2.255 scope global noprefixroute dynamic enp0s3
       valid_lft 85327sec preferred_lft 85327sec
3: enp0s8: <BROADCAST,MULTICAST,UP,LOWER_UP> mtu 1500 qdisc pfifo_fast state UP group default qlen 1000
    link/ether 08:00:27:23:d3:1b brd ff:ff:ff:ff:ff:ff
    inet 192.168.56.102/24 brd 192.168.56.255 scope global noprefixroute dynamic enp0s8
       valid_lft 1133sec preferred_lft 1133sec
Configure access to the virtual machine
Add the IP address of the second interface and the hostname in your /etc/hosts file (ie on the VirtualBox host), for example:
192.168.56.102 sftests.com
Configure the virtual machine
You can authorize your SSH public key with the root user to allow password-less authentication:
ssh-copy-id root@sftests.com
Connect to your virtual machine from your host:
ssh root@sftests.com
Configure firewalld to allow http, https and gerrit access from your host:
firewall-cmd --add-service=http --add-service=https
firewall-cmd --add-port=29418/tcp
firewall-cmd --runtime-to-permanent
Install Software Factory
The next step is to install Software Factory. We will add hypervisor-k1s to the architecture file to enable containers in check and gating jobs:
First, ensure the system is up to date before installing Software Factory:
yum update -y
Then, install Software Factory, this will take ~15 minutes to download, install and configure services:
yum install -y https://softwarefactory-project.io/repos/sf-release-3.8.rpm
yum update -y
yum install -y sf-config
echo '      - hypervisor-k1s' >> /etc/software-factory/arch.yaml
echo 'gateway_force_fqdn_redirection: False' > /etc/software-factory/custom-vars.yaml
echo 'enable_insecure_workers: True' >> /etc/software-factory/custom-vars.yaml
sfconfig
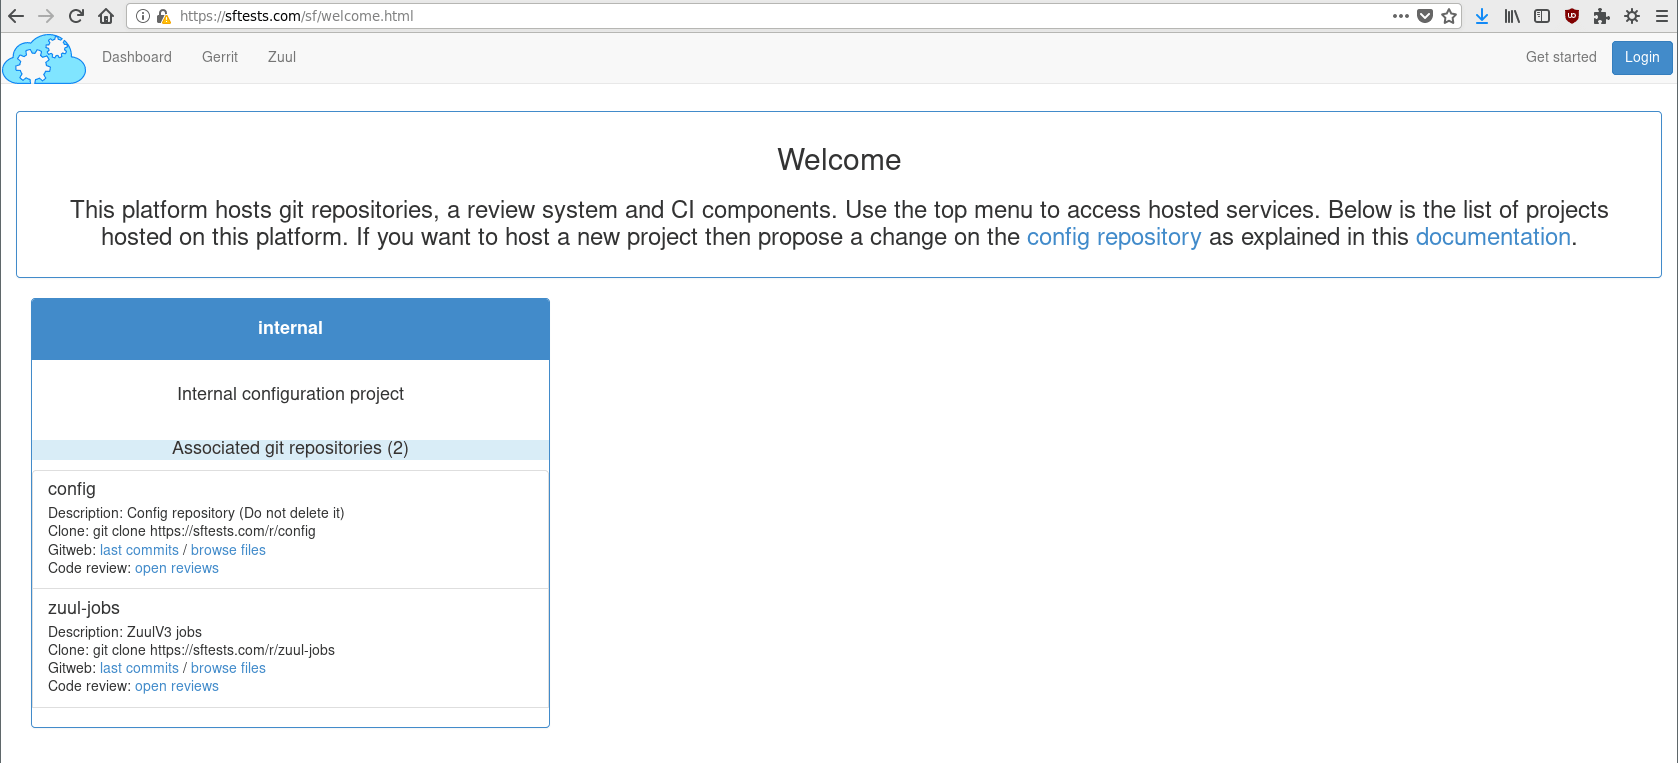
Validate https access
Connect to https://sftests.com to access to the software factory web interface
Configure admin public SSH key
The next step is to add your SSH public key to the admin account, so that you can submit reviews with the admin account. The admin password is defined in the /etc/software-factory/sfconfig.yaml file.
awk '/admin_password/ { print $2}' /etc/software-factory/sfconfig.yaml
Go to https://sftests.com/auth/login and log in as admin by clicking on Toggle login form. Then select the Gerrit link in the top menu, and click on "Settings" to edit the admin account:
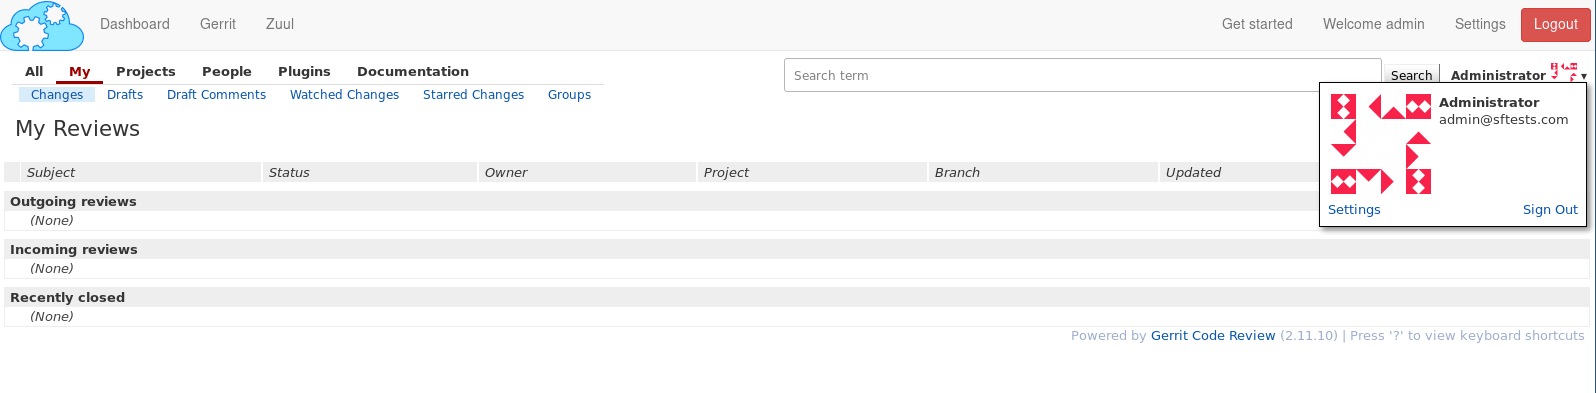
Select SSH Public Keys and add your public key (Do not delete the other defined key, it's used for administrative tasks).
Snapshot the virtual machine
You can now snapshot the virtual machine to be able to quickly restore a known state after testing.
Troubleshooting
Issue with `buildah` During `sfconfig` Execution
If you encounter an error during the sfconfig execution related to the buildah process, follow these steps:
error creating build container: Error initializing source docker://registry.centos.org/centos:7: error pinging docker registry registry.centos.org...
This indicates a problem with accessing the registry.centos.org repository. To resolve this issue:
- Modify the Dockerfile at /root/config/containers/centos-7/Dockerfile by changing the base image repository from registry.centos.org/centos:7 to quay.io/centos/centos:7.
- Commit and push these changes.
Using Gerrit as Admin for Merging Changes
After pushing the changes, you'll need to merge them using Gerrit:
- Log in to Gerrit at https://sftests.com/r/ using the admin account.
- Navigate to the 'Open' changes section and find your recent commit.
- Review the change to ensure it's correct.
- Use the 'Review' functionality in Gerrit to give a '+2'.
- Click on the 'Submit' button to merge the change into the repository.
Once the change is merged:
- Rerun the sfconfig command on the machine where the setup was initially attempted.
These steps should help you resolve the issue related to the buildah command in the sfconfig execution and ensure the correct repository is used in the build process.