This post presents a new Tech Preview available in SF version 3.2. This driver is experimental and shouldn't be used in production as it is still being developped and reviewed upstream. It is an implementation of the container build resources spec
Configure an OpenShift provider
Deploy a standalone service
To deploy an OpenShift cluster locally, you can use the hypervisor-openshift component in the arch.yaml file:
inventory:
  - name: cluster01
    ip: 192.168.0.3
    roles:
      - hypervisor-openshift
The install-server needs to be able to connect as root and the port 8443 needs to be available to the nodepool-launcher service.
After running sfconfig, a new Nodepool configuration file named "_local_hypervisor_openshift.yaml" is added to the config project to automatically configure the new provider as well as two test labels: "openshift-project" and "openshift-pod-fedora".
Use the extra-labels option in the config project to add extra images:
# /root/config/nodepool/openshift-labels.yaml
labels:
  - name: openshift-pod-centos
    min-ready: 0

extra-labels:
  - provider: managed-openshift-cluster01
    pool: zuul-ci
    labels:
      - name: openshift-pod-centos
        type: pod
        image: docker.io/centos
Use an existing service
To use an existing OpenShift cluster, you need to install the kube config file on the install-server at /etc/software-factory/kube.config and update the sfconfig.yaml with:
nodepool:
  kube_config: /etc/software-factory/kube.config
After running sfconfig, the file is installed on every nodepool-launcher instance, you can get the context name using this command:
sudo -u nodepool oc config get-contexts
Then configure a new nodepool provider in the config project:
# /root/config/nodepool/openshift.yaml
labels:
  - name: openshift-project
    min-ready: 0
  - name: openshift-pod-fedora
    min-ready: 0

providers:
 - name: cluster-name
   driver: openshift
   context: nodepool/openshift-example-com:8443/self-provisioner
   pools:
     - name: zuul-ci
       labels:
         - name: openshift-project
           type: project
         - name: openshift-pod-fedora
           type: pod
           image: docker.io/fedora:28
To use the openshift driver, the context needs the self-provisioner role. If the context doesn't have a self-provisioner role, use the "openshiftpod" driver instead. This other driver doesn't support label types and only provide pods to be deployed in the authorized projects.
Validate the new provider
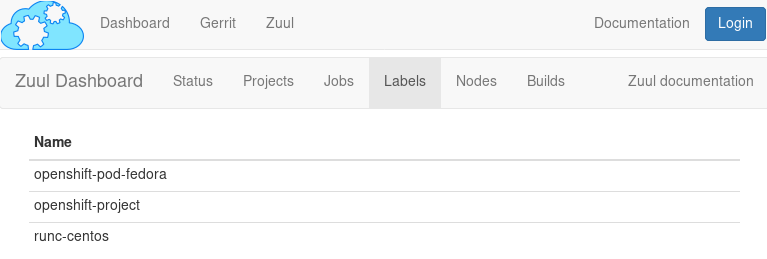
- Check the labels are available in the zuul dashboard Labels page.
- Check the nodepool launcher log for errors.
Create new Zuul nodeset
To simplify container job creation, you can define default nodesets, for example in the sf-jobs project:
# /root/sf-jobs/zuul.d/nodeset.yaml
- nodeset:
    name: container-project
    nodes:
      - name: project
        label: openshift-project

- nodeset:
    name: container-fedora
    nodes:
      - name: pod
        label: openshift-pod-fedora
Use a pod to run job
This first example demonstrates the "Containers That Behave Like a Machine" use-case where a job run on a existing pod with the kubectl connection. Use the base-openshift-job in a zuul.yaml file:
- job:
    name: demo-pod
    parent: base-openshift-pod
    run: pod.yaml
    nodeset: container-fedora
The pod.yaml playbook will run with the pod in the inventory and the project is already copied to the workspace:
- hosts: pod
  tasks:
    - pause:
        seconds: 30
    - command: python3 demo.py
      args:
        chdir: "{{ zuul.project.src_dir }}"

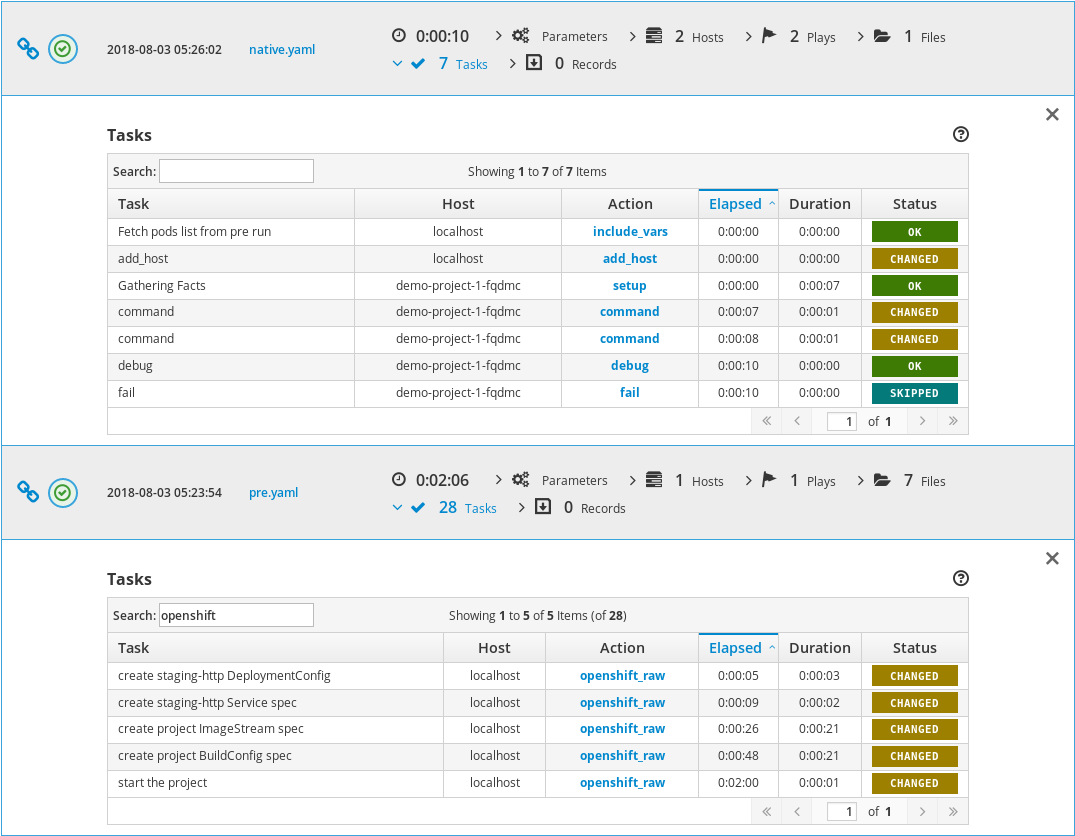
Use a container native job
This second example demonstrates the "Native Container Workflow" use-case where a job run with an empty project and build a container image with the speculative git repos.
Software Factory integrates a base job to create the ImageStream and deploy a pod that is suitable for a single project. The base_image job variable let you set the the Source Strategy stream tag to be used in the Build Config:
- job:
    name: demo-native-py36
    parent: base-openshift-native
    run: native.yaml
    vars:
      base_image: "python:3.6"
The native.yaml playbook will run with a pod built using the speculative git repos:
- hosts: demo-project
  tasks:
    - command: ls
    - command: python demo.py
      register: demo_output
    - debug: var=demo_output.stdout
    - fail:
      when: "'Hello' not in demo_output.stdout"
A follow-up blog post will demonstrate more complex scenario using a custom parent job to deploy custom definitions.